 |
||||||||||||
|
|
||||||||||||
|
|
 |
||||||||||||||
 |
||||||||||||||
 |
||||||||||||||
 |
||||||||||||||
 |
||||||||||||||
|
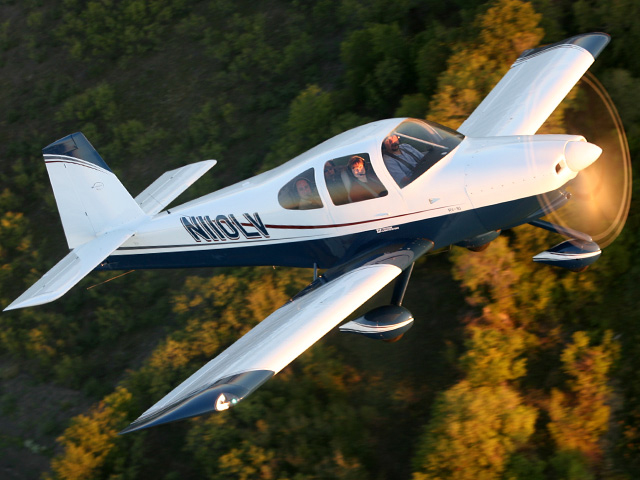
!!FIRST RV10 With Air-conditioning |
||||||||||||||
|
Pre Flight |
||||||||||||||
|
The majority of the pilots I fly with are from out of town. They book their training with me approximately six to eight weeks in advance. The training commences with the pilot completing a waiver form. After the paperwork is completed I have the pilot get in the airplane so we can fit him correctly to reach all necessary controls comfortably. Cushions must be placed or removed, depending on the size of the pilot-trainee. It is important to me that the student be as comfortable as possible before the prop starts turning. Once the trainee is seated comfortably, I check that once we close the canopy that it does not interfere with his head or the headset. The student is now familiarized with the controls, gauges, switches, flaps, layout of the instruments, the functioning of the rudder pedals. I will demonstrate and explain how the constant speed prop operates when the student has only fixed-pitch prop experience. This is the time to talk about the basics, and not when the plane is moving 180 mph, up to his chin in work, holding altitude, holding heading, and trying to get familiar with the sensitivity of this high-performance aircraft. Once this step is concluded, I will ask the student to step outside of the cockpit and do a thorough pre-flight inspection of the aircraft with me. At this point I will give the new RVer/Builder some insights and things to pay special attention to while this task is being performed. After the inspection and walk-around, it’s time for the big moment, “’” Lets go fly. |
||||||||||||||
|
Flying |
|||||||
|
The pre-flight is completed. Here we go fly. I will not go into much detail because there is a syllabus that I follow, and every student is different. Some require more training in stalls, some need more pattern work, but everyone needs time to get used to the sensitivity of these short-winged, fast little aircraft. Usually people ask me how many hours minimum that I require for a checkout. I don’t have a set number of hours. Once I am comfortable in my mind that the student will not hurt himself or herself, or their aircraft, I will suggest terminating the training. You would be surprised to know that approximately eight out of ten students strongly request more time in the airplane with me. The best answer I have for that came from Doug Reeves. I said, “Doug, you’re done.” He looked at me like a deer looking into the headlights of an eighteen wheeler coming at him and said, “Noooo,” while he squeezed my arm. “I need one more hour for my wife, one for my daughter, and just in case, one more for my baby boy.” And now we go to “”Post Flight. |
|||||||
|
Post-Flying |
|||||||
|
After both you and I agree that you are safe and comfortable flying the RV, we refuel the RV for the next training session. I will ask you for your log book, so I can make all the required entries to make sure you are legal, and that you comply with your insurance company’s requirements. I like the feedback to keep making it better for the next student. When all this is done, we sit down on a couch and I explain what you can expect on the first flight in your own aircraft. I like to play the “What If” game. What if the oil pressure goes south on takeoff? What if the airspeed indicator quits working? I ask him to visualize all the emergency procedures, just in case the unexpected pops up. The student is now ready to go home and enjoy the wonderful flying experiences that these fantastic little aircraft can provide. |
|||||||
|
Email Phone |
|||||||
